Hi everyone!
It's Tarrah McLean back with you today to share my next design team project with you. This week on the Cocoa Vanilla blog we are focusing on sketches. I have of course used the gorgeous Storyteller collection and I also chose a fun sketch from Lottie Loves Paper to work with for inspiration. I am documenting a cute picture of my niece dressed up as Dorothy from the Wizard of Oz.
I picked this great sketch from Lottie Loves Paper.

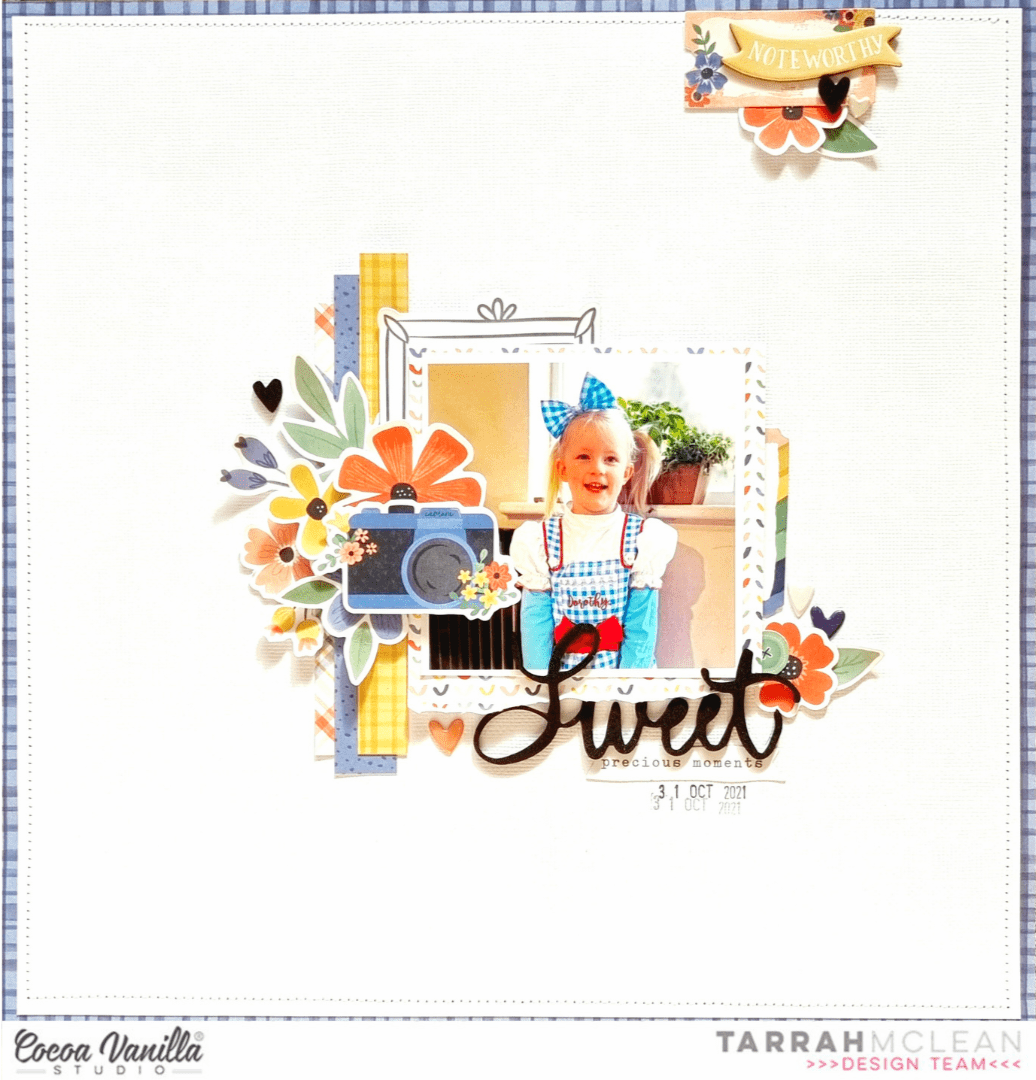
I chose a piece of plain white cardstock for the main background for my layout and trimmed this piece down and adhered it to the 'B' side of the Ditsy Daisy paper. I then machined stitched a border around the outside using white cotton. I trimmed a piece of the 'B' side of the Brighter Days paper and adhered my photo to this piece. I ripped the bottom edge off and bent the edges up to give texture. I stuck to the design of the sketch mostly by adhering the photo in the centre of the page using craft foam just like in the sketch. I layered a journal spot from the ephemera pack on the right of the photo and also created a small cluster of embellishments in the bottom right corner. Here I included a floral die-cut, a button die-cut and 2 heart puffy stickers.

Below the photo I added my title also like in the sketch - my title is from the foam title stickers and I also added a phrase piece from the ephemera pack. You can see in the sketch design that the title and journaling are together, as I don't do a lot of journaling on my pages, I just added the date stamp as an extra feature here. There are no rules when creating, and you do not have to completely stick to a sketch if you are using one for inspiration, as long as you have used the sketch as a starting point you can't go wrong.

I cut up some patterned paper strips from the A5 paper stack and layered these on the left side of the photo, you can see in the sketch design that there are strips added. I also layered one of the frames from the ephemera pack under the top left corner of the photo to add some interest here. Next I chose some of the gorgeous florals from the floral ephemera pack and layered them by adhering some using dimensional tape and adhering some flat to the page also. I love the shadows and dimension this creates on my page. On top of one of the flowers I also added a camera die-cut.

Because I added the black title at the bottom, I wanted to create a visual triangle on my page so I did this by adding 2 of the black foam hearts from the foam title stickers. I added one to the left of the large floral cluster and also added one at the top embellishment cluster. The top embellishment cluster also mimics elements in the sketch. I added a die-cut here, a chipboard word, a floral die-cut, the black foam heart mentioned before and also a puffy sticker heart.

Do you ever struggle to get started with creating a layout or project? Sketches are a great way to get you started and there are so many awesome sketches to include one photo or multiple photos. Why not try a sketch for your next project?
Thanks so much for stopping by my blog today. I hope you enjoyed reading how my layout was created as much as I enjoyed creating it?!
Happy creating!
Tarrah x

No comments:
Post a Comment