Hi creative friends!
It's Tarrah back with you and today I am sharing a new layout created for Cocoa Vanilla Studio using the awesome No Limits collection!
I haven't created a boy layout for a while and I have lots of the awesome No Limits collection! I grabbed a sweet black and white photo of my youngest son and got to work creating!
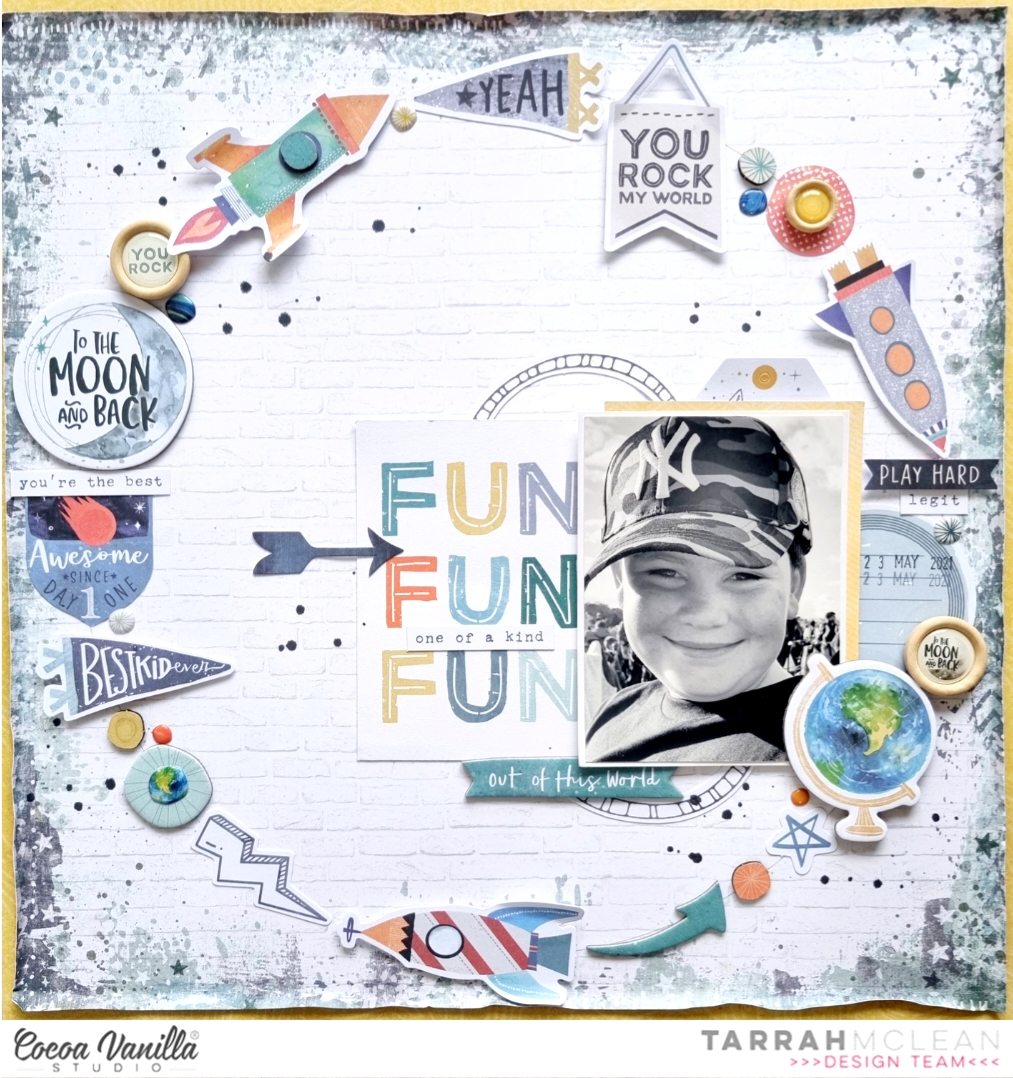
I chose the awesome Spark paper for my main background, trimmed this piece down to measure 11' x 11' inches and then adhered it to the 'B' side of the Latitude paper
I then bent the edges up to create some texture and shadows on my page. I decided on a round design for this layout and took a dinner plate and pencil and lightly traced a circle with the dinner plate. I knew I wanted to add lots of the ephemera around the outside edge. This is a great way to use up lots of leftovers or little bits and pieces you may have laying around and don't really know what to do with!
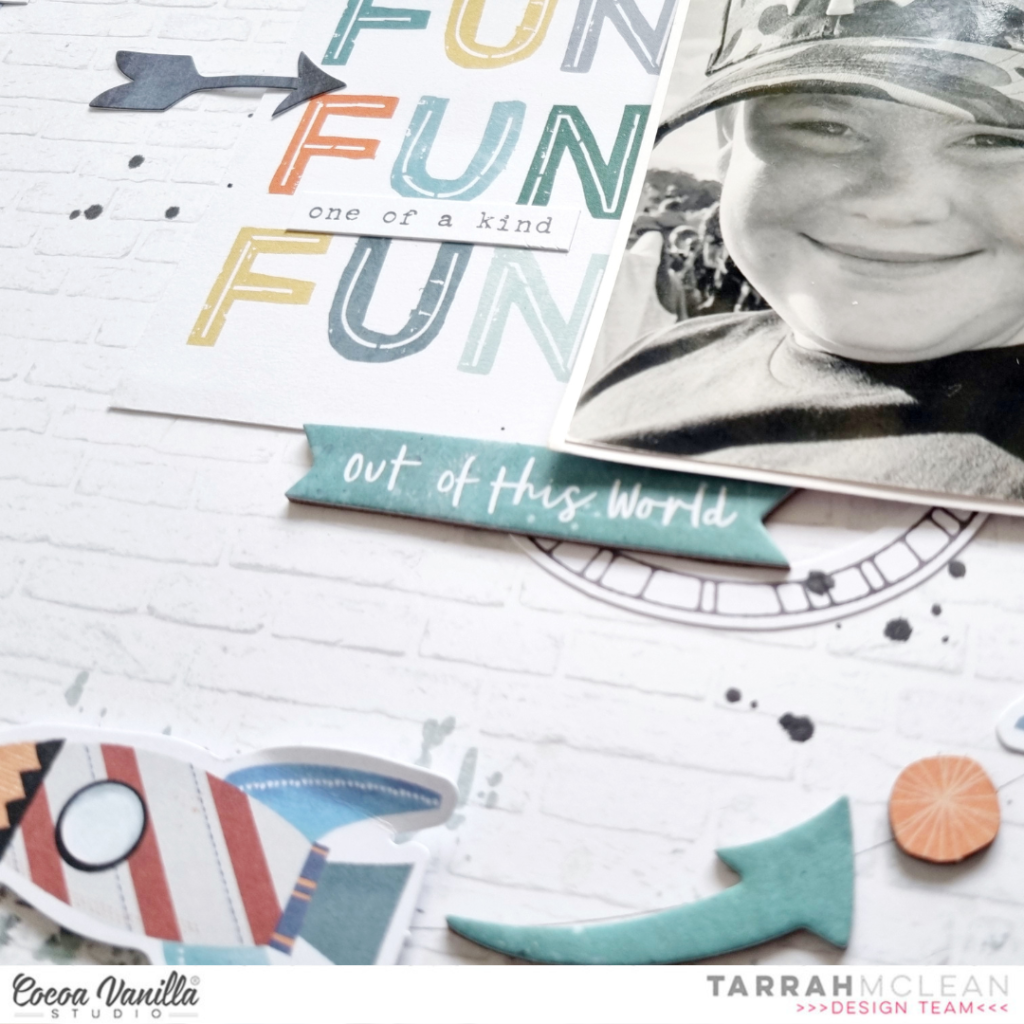
Before adding all of the ephemera and embellishments around the circle I wanted to get my photo in its place, as it is a large element and the main focal point of my page, this is important to me to get this part right. I layered one of the 3' x 4' pocket cards under the photo and adhered it to the right hand side of the page using craft foam. I did also cut in half one of the round frame die-cuts and tucked a piece in the top and bottom of my photo. For my title, I adhered another of the cool pocket cards with the words Fun Fun Fun! I also layered one of the phrase stickers from the accessory sticker sheet on top.
My favourite part when I create a layout is the embellishing! What's yours?
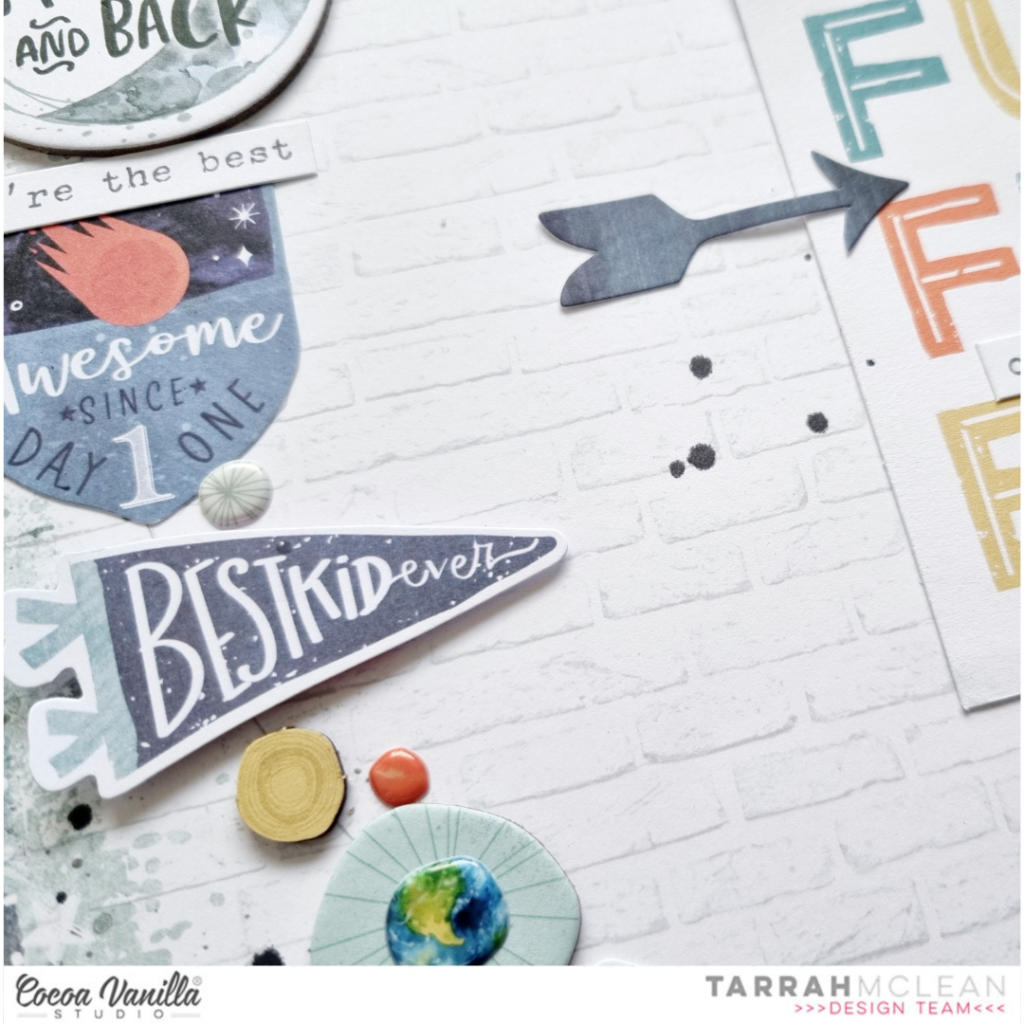
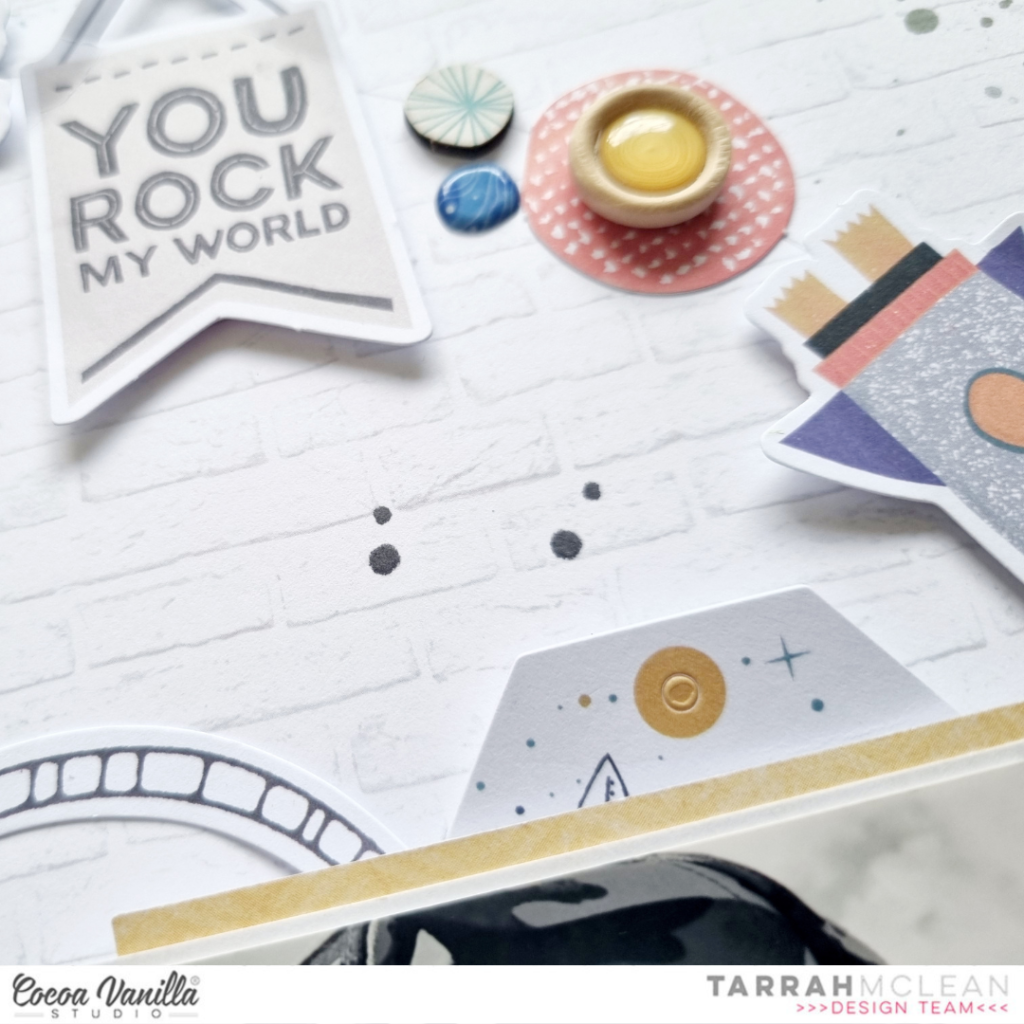
Once my photo and title were added it was time to add all the embellishments around the drawn circle. I used a mixture of ephemera, chipboard, wood epoxy buttons, puffy stickers and accessory stickers. I adhered them all down around the circle using different types of adhesives. The chipboard I used a wet glue (even though these have their own adhesive, I like to add more as extra), the ephemera I used double sided tape and foam tape to give different dimension heights. I was careful to place similar colour elements away from each other, this helps creating a visual triangle on my page.
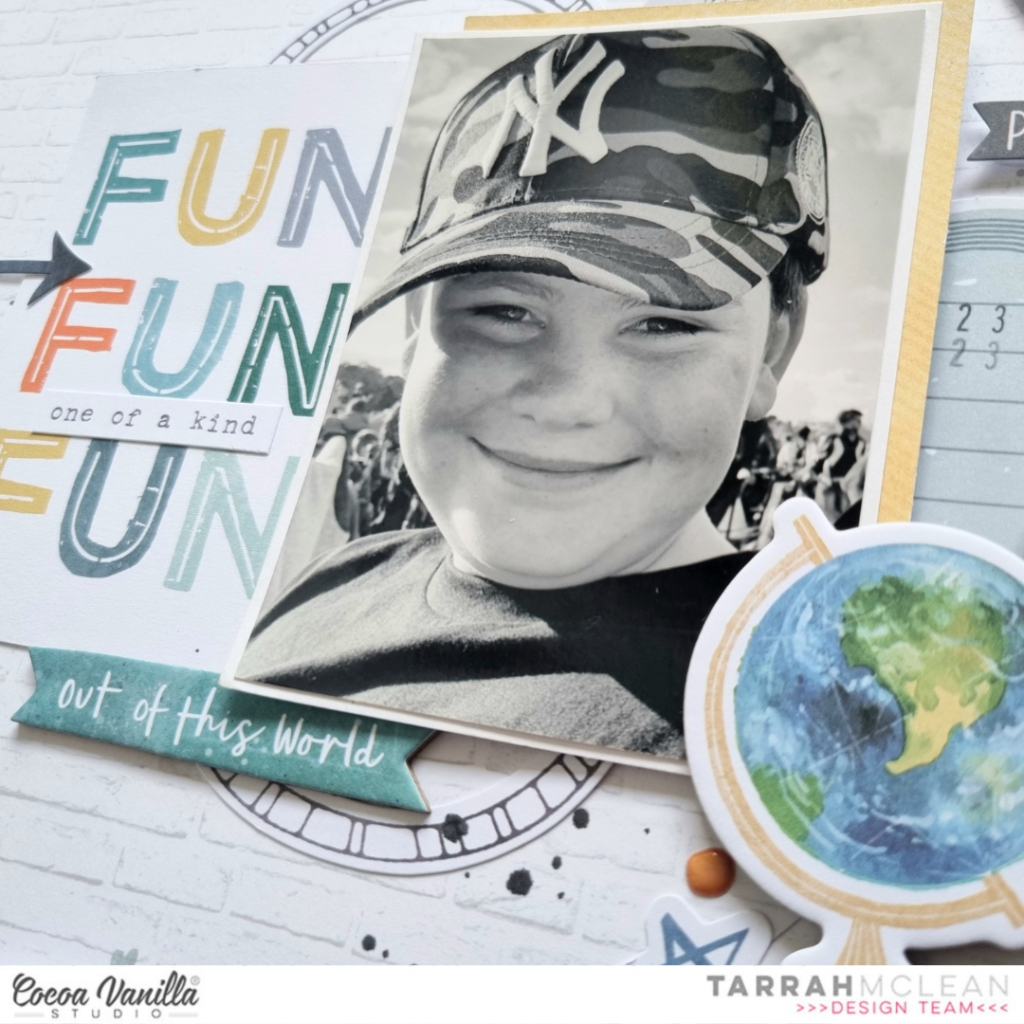
It was so fun to arrange all the elements around the circle, I placed larger embellishments first and then added smaller ones in between. To the right of my photo I stamped the date stamp using black ink and my date stamp. Lastly I sprinkled some black mist to finish my layout.
Thank you for stopping by my blog today!
Do you love creating boy layouts? If that is a yes then the No Limits collection is an amazing collection to create some awesome boy pages!
I love how my layout turned out and hope you enjoyed reading about how I created it!
Happy creating!
Tarrah x

No comments:
Post a Comment