Hi creative friends!
It's Tarrah back with you and today I am sharing a new scrapbook layout for the Cocoa Vanilla Studio Throwback Thursday feature! I decided to pull out the gorgeous Make A Wish collection for my layout today...do any of you still have any of this beautiful collection?
I am documenting a photo of my eldest niece who turned 6 last year...she had a pretty unicorn and tiara cake for her birthday cake!
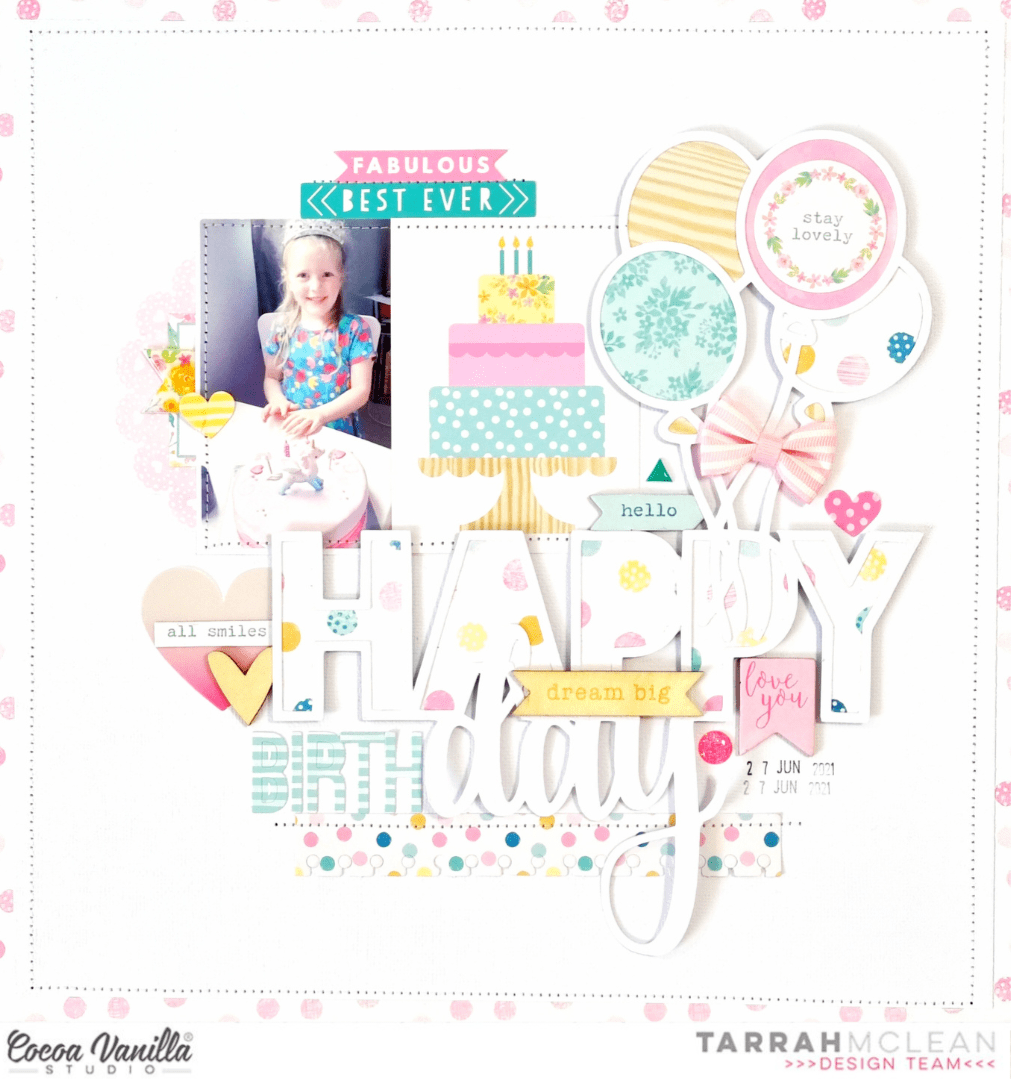
I chose the white with pink spots paper for my background and trimmed down a piece of plain white cardstock to adhere on top of the white and pink spotted paper. Once adhered, I machine stitched around the outer edge to add some texture to my page. Next I chose a fun, birthday themed cut file from CUT to YOU and cut it out of white cardstock. I then chose some of the cute papers to back the balloons with and also the word Happy in the cut file. Once the cut file was backed I added craft foam underneath and adhered it to the plain white cardstock background. I love the shadows and dimension this creates on the page!

As the design of the cut file had some space on the left, this was the obvious place to add my photo and a 3' x 4' pocket card right next to my photo. I also added some machine stitching to the outer edges of both the photo and pocket card. I decided to add the word Birth using the alpha stickers from the Make A Wish collection so that my title reads, Happy Birthday instead of just Happy Day. I was able to pick letters that were all the same colour, placing them to the left of the word Day. Below the title, I added the notebook edge diecut and machine stitched across the very top edge, I love the texture this creates. I had one of the gorgeous fabric bows left over so it just had to be adhered on the 'strings' of the cut file. I also placed the Stay Lovely round sticker from the Accessory Stickers on one of the balloons.

Before I adhered the photo, I took the gorgeous doily die cut from the ephemera pack, cut it in half and tucked one half under the left edge of my photo. I also placed a tab sticker from the Accessory Sticker sheet and à banner puffy sticker from the puffy stickers. The small heart die-cuts are so gorgeous, I love all the colours these come in! I added a pretty yellow one here and a pink one on the other side above the letter 'Y' in Happy. Above the photo, I added the banner that says Fabulous and the Best Ever phrase piece also. I added some machine stitching through these 2 pieces also for some added texture. I placed the Hello arrow chipboard piece and a triangle puffy sticker in the centre of the page, to fill a little gap that was there.

To the left of the 'H' in the Happy word, I added one of the gorgeous vellum hearts, a phrase sticker and one of the chipboard hearts also. Across the middle of the title, I also added the Dream Big chipboard piece! Lastly the pink banner piece that says 'Love You' was added between the 'P' and 'Y' in Happy and I stamped the date stamp of when the photo was taken. I just loved working with the Make A Wish collection again! Even though it might be an older collection, you can still create pretty projects using older collections!

Thank you so much for stopping by my blog today! I hope you enjoyed my layout as much as I enjoyed creating it? I hope this inspires you to pull out an older Cocoa Vanilla collection and get creating with it?! There is something satisfying about using up your stash don't you think?
Happy creating!
Tarrah x

No comments:
Post a Comment