Hi creative friends!
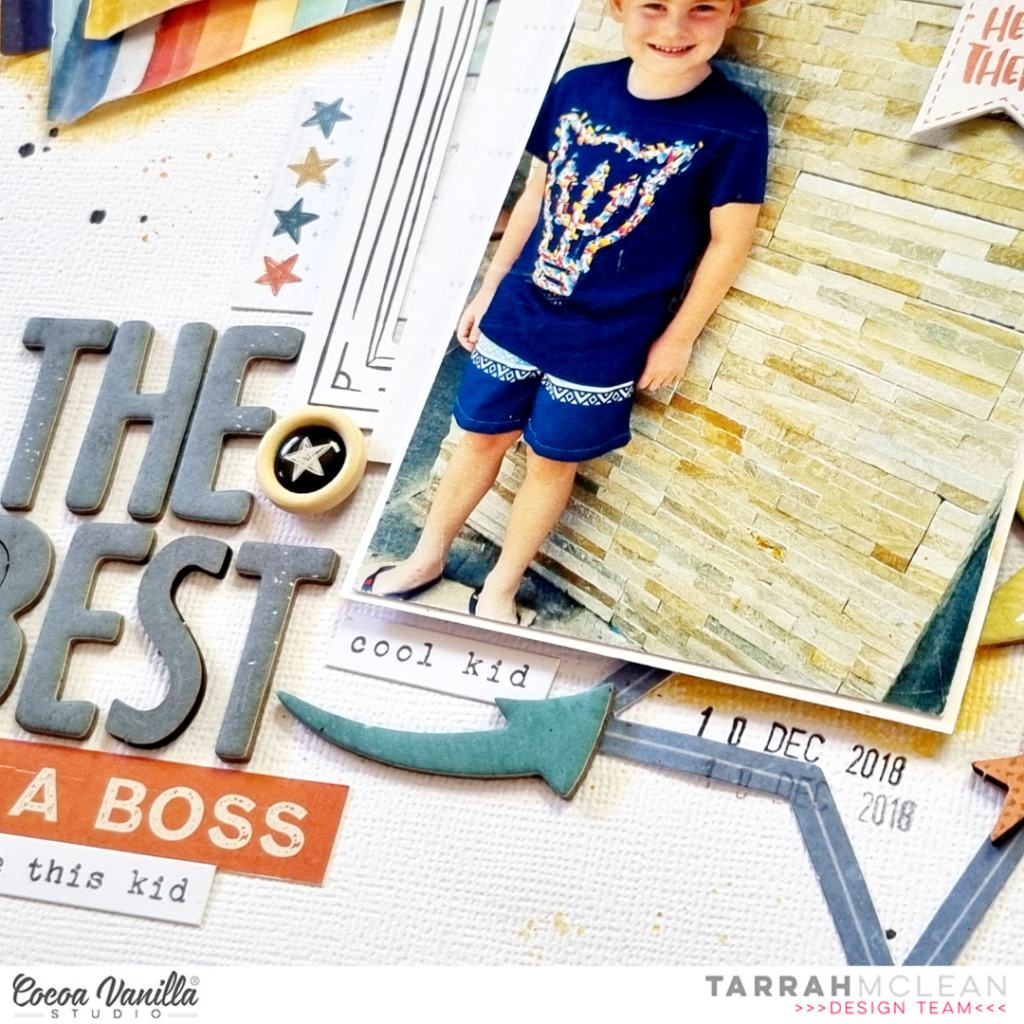
It's Tarrah back with you and today I am sharing one of my favourite to create - a boy layout! Because I have 2 sons, there is never a shortage of boy photos around here! I decided to pull out the awesome and very cool No Limits collection, one of my favourite boy lines by Cocoa Vanilla Studio! This photo is an older one of my youngest son who is now 13 - he is about 5 or 6 in this photo! I loved the way the shirt he is wearing matched some of the colours from the No Limits collection - that is where I got the inspiration from for my layout today.
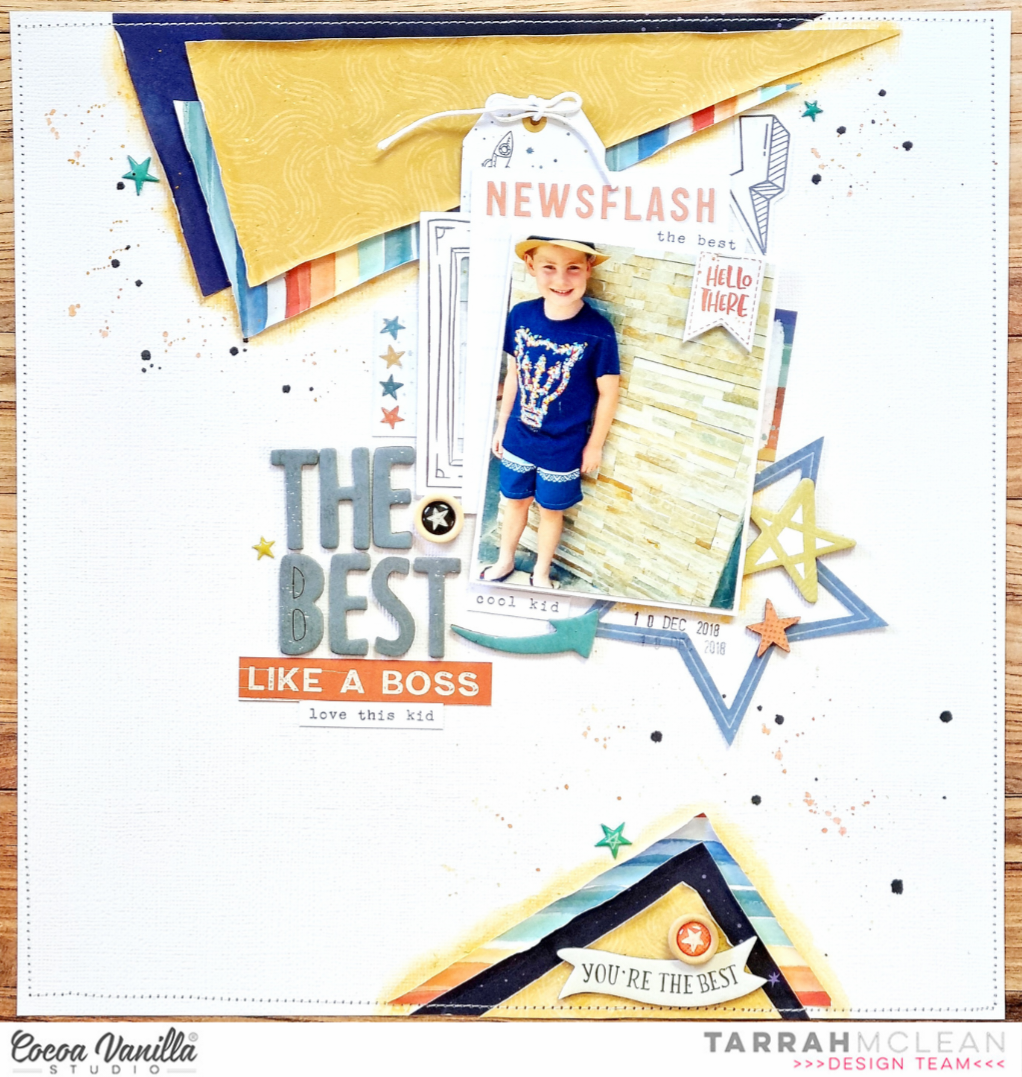
I started off with a plain sheet of white cardstock - as I mostly do- then trimmed it down to measure approximately 11' x 11', backing this onto the 'B' side of the Big Bang patterned paper (the woodgrain side). I then pulled out a few of the various papers from the A5 paper stack and sorted through them to find some that co-ordinated with my son's shirt. I decided to cut some into triangle shapes and then layered them top and bottom of the page. For some extra texture, I bent the edges of these papers and also applied a little mixed media to create a sort of shadow effect.
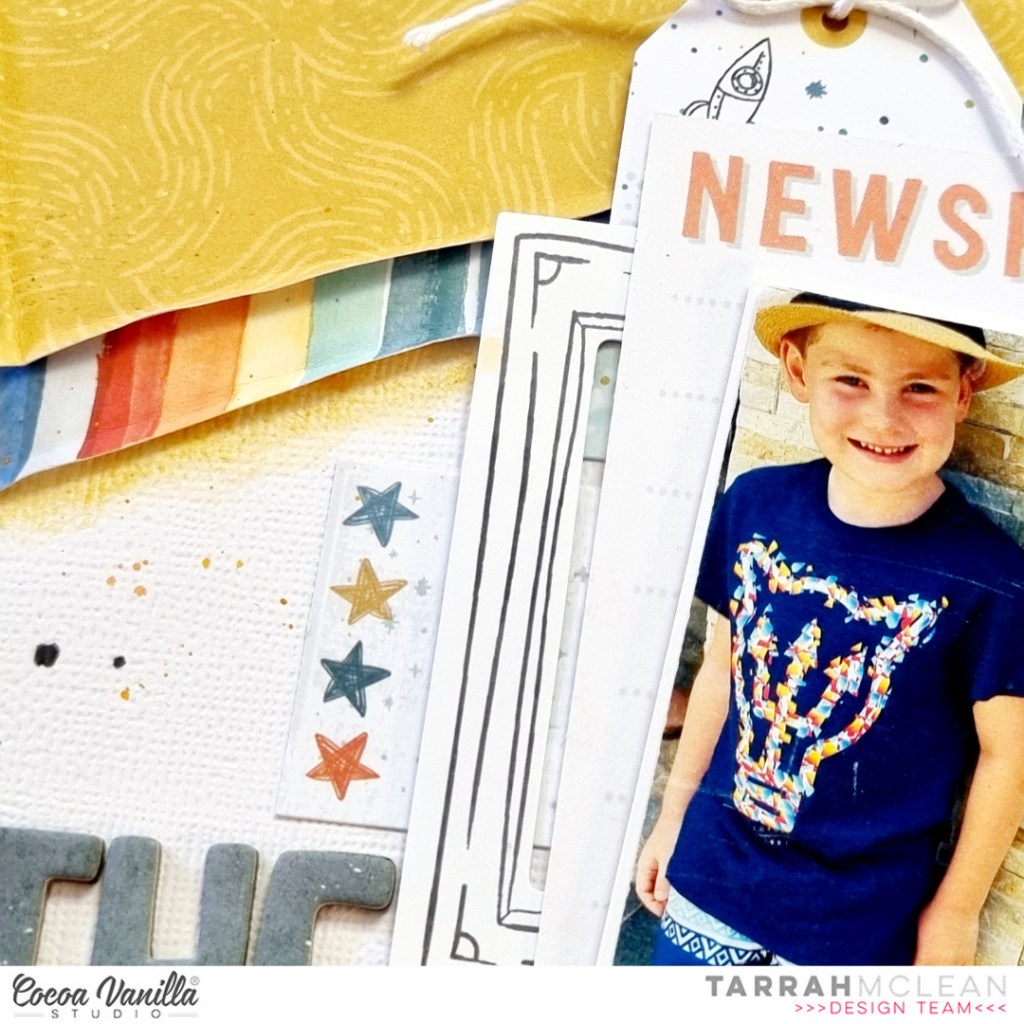
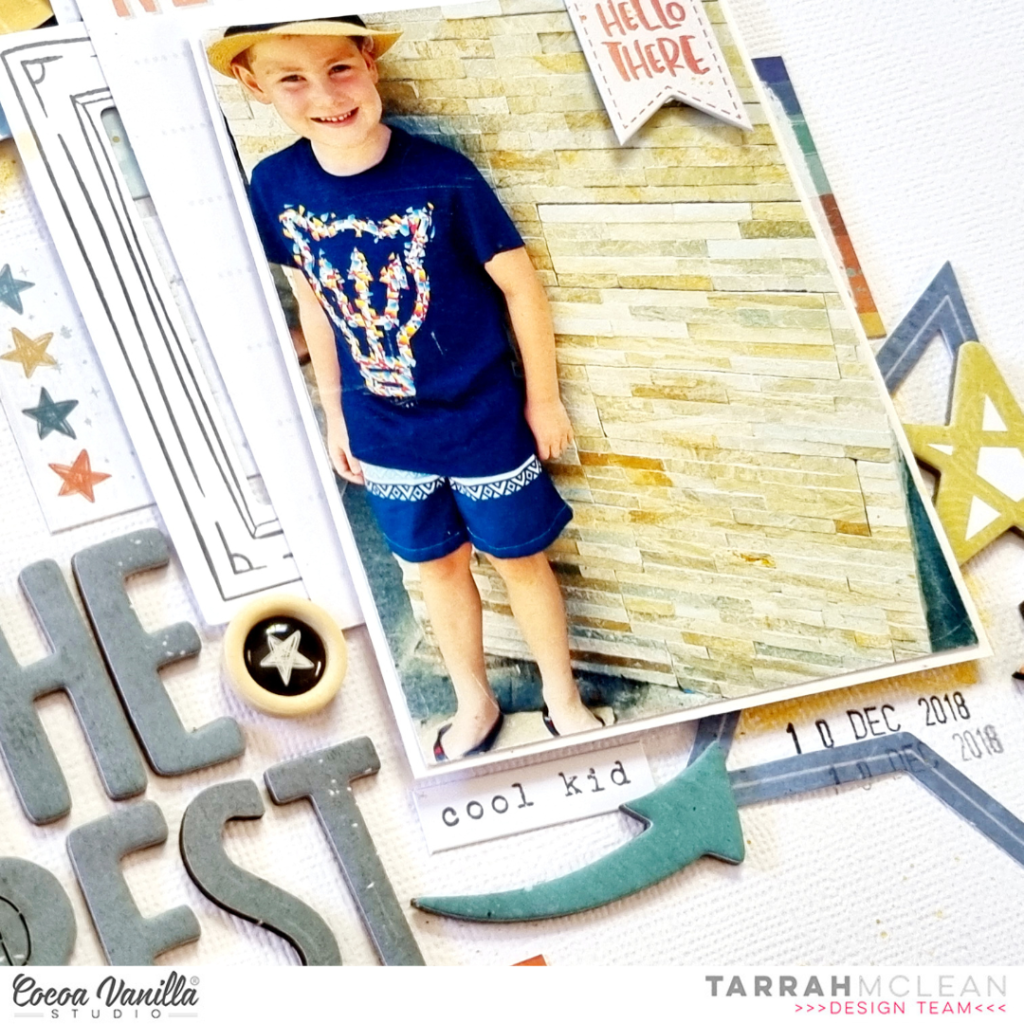
I placed craft foam underneath my photo and placed it in the centre of my layout, adding some layers underneath like a pocket card, a die-cut frame and a sticker and tag both from the Accessory sticker sheet. I love to layer embellishments on top of my photos and under my photos too, how about you? In the top right corner, I stapled a banner sticker here and tied a bow through the tag using some white wax cotton. In the bottom right corner, I placed the large star die-cut and added some chipboard ones on top.
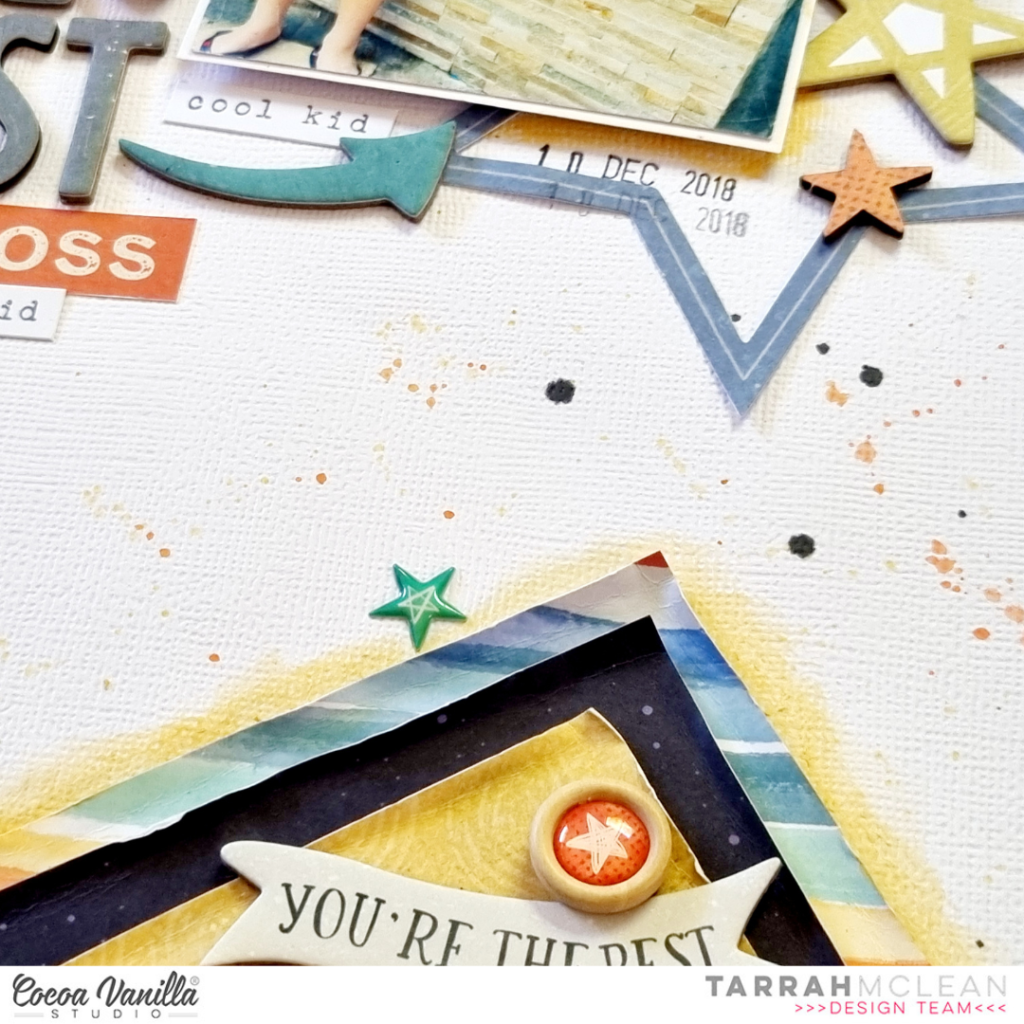
In the bottom cluster of papers, I added another chipboard piece and also one of the super cute wooden epoxy buttons all from the No Limits collection. I love how these small details add some interest to an area to help draw your eye in. My title is 'The Best' letters from the chipboard sheet, I also added a phrase under the title, cut from the 'Universal' patterned paper. Another of the wooden epoxy buttons was also placed here and I love the teal/aqua coloured chipboard arrow pointing to the photo too.
Once I had most of the design in place and the larger elements on the page, I started to add smaller details for the finishing touches. I added some phrase stickers around the page and stamped the date stamp and added some sprinkles of mist in various colours also. Lastly I machine stitched a border around the entire edge using white thread.
Thank you so much for stopping by my blog today! I hope you have been inspired by my layout in some way! Make sure you share your creations with us if you get some time to pull out your Cocoa Vanilla collections and create some cool projects!
Happy creating!
Tarrah x
No comments:
Post a Comment