Hi creative friends!
It's Tarrah back with you and today I am sharing a new scrapbook layout created for Cocoa Vanilla Studio featuring the gorgeous Joyful collection.
I know, I know its still November but who said we couldn't document Christmas all year round right? I know some people would not agree lol! I don't know about you, but Christmas is one of my favourite times of the year to document memories, this photo is of our big Christmas tree from last year. I love this photo as it reminds me of beautiful times spent with my family.
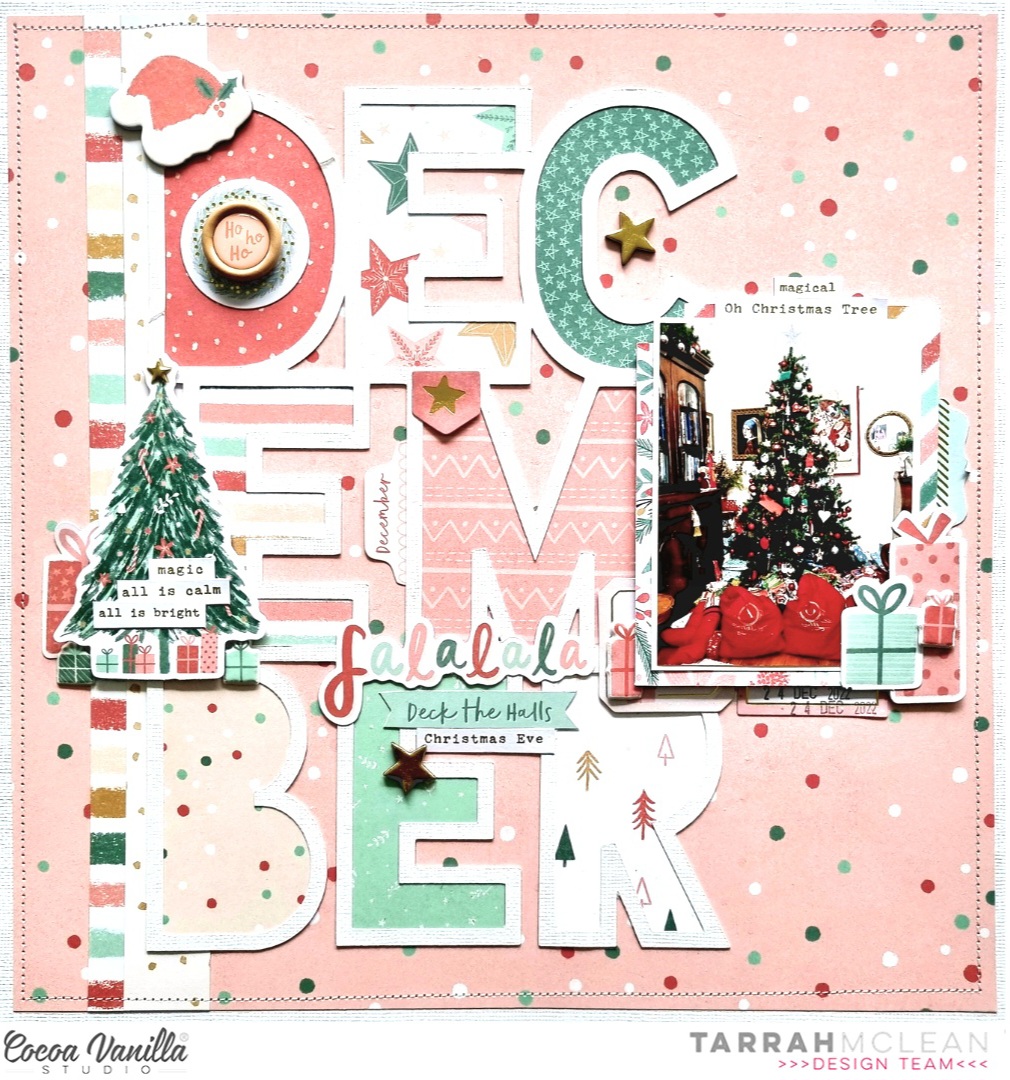
I started by choosing the 'B' side of the Feeling Festive patterned paper to use for my background, I trimmed this piece down and adhered it to a plain white sheet of white cardstock and machine stitched a border around the outside to add some texture. I then cut out a cut file from CUT to YOU also using plain white cardstock. The A5 paper stack was then used, choosing several of the papers from it to back each letter in the cut file. Once the cut file was all backed, I adhered it slightly to the left on the 'B' side of the Feeling Festive paper. I cut strips out of the Holly Days paper and the Very Merry paper and adhered these vertically to the left of the cut file. I like how this helps to ground the cut file. Usually I adhere my cut files using craft foam however this time I knew I wanted to use craft foam on lots of the elements on top of the cut file.
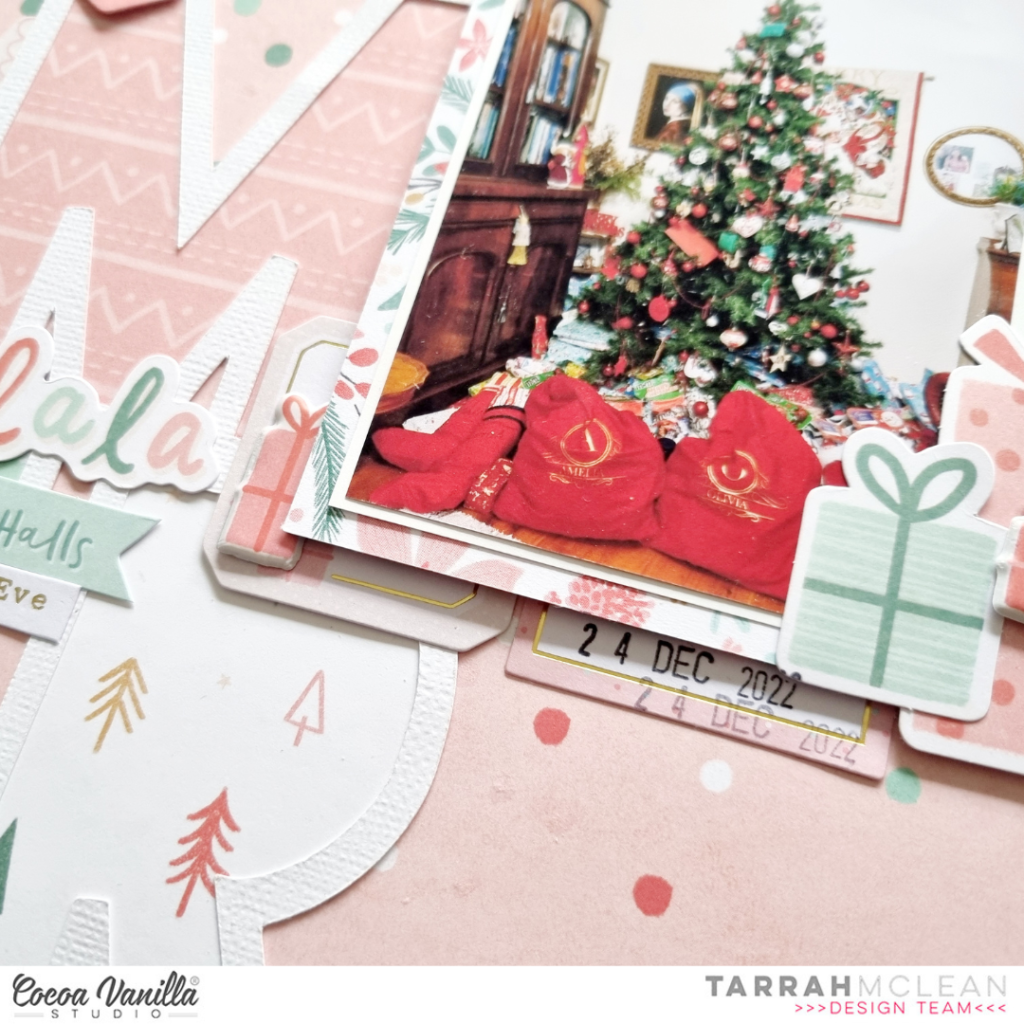
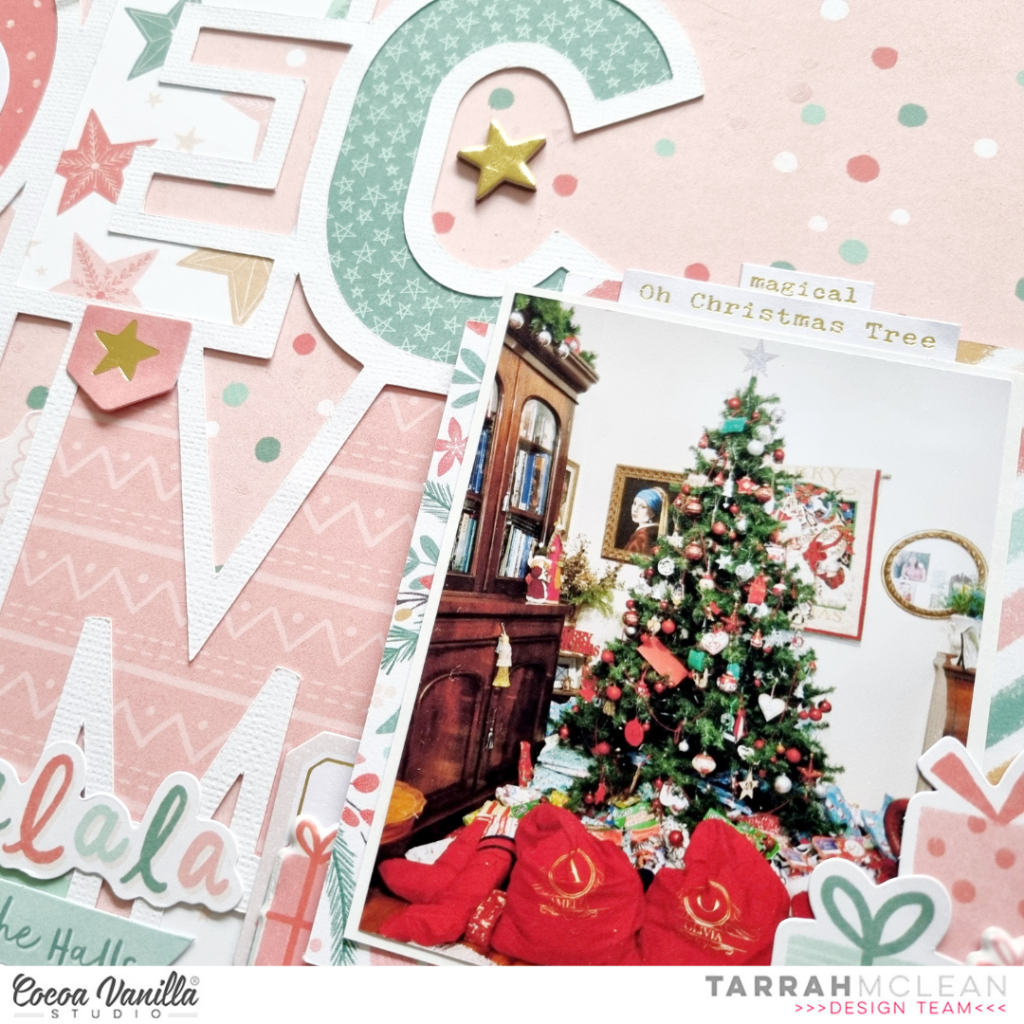
I adhered my photo on the right of the cut file using craft foam and layered some of the Journaling Cards underneath, I then added some die-cut pieces from the Ephemera pack and some Accessory Stickers and Puffy Stickers here too. I like to add embellishments near my photo to help draw the eye to the photo. You can see in the image above the shadows that using the craft foam creates under the photo, I love how this looks! It also allows for lots of tucking of embellishments as well. Above my photo, I placed some of the word and phrase stickers from the Accessory Sticker sheet, I love how these help with journaling and telling the story.
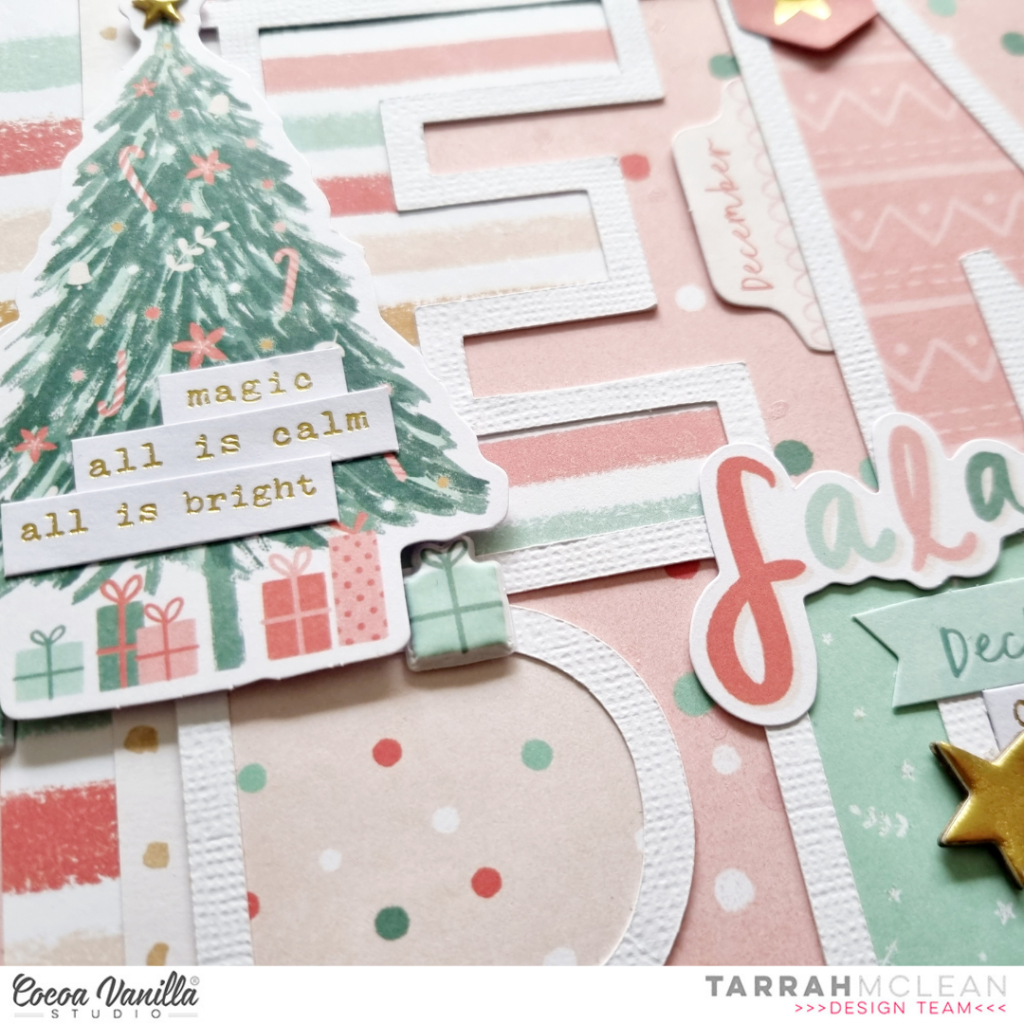
To balance out the heavy right side where my photo is placed, I decided to add the gorgeous die-cut Christmas Tree from the ephemera pack to the left hand side using craft foam, I added one of the gold puffy stars to the top of the tree and also layered more of the word and phrase stickers from the Accessory Sticker sheet, on top of the tree. I added some more gifts under the tree using puffy shapes and die-cuts. In the centre, I placed the FaLaLaLa die-cut, a banner sticker and another phrase sticker. I also pulled out some of the chipboard and added some of the pretty gold stars and I also added the Santa Hat to the top of 'D' in the December cut file.
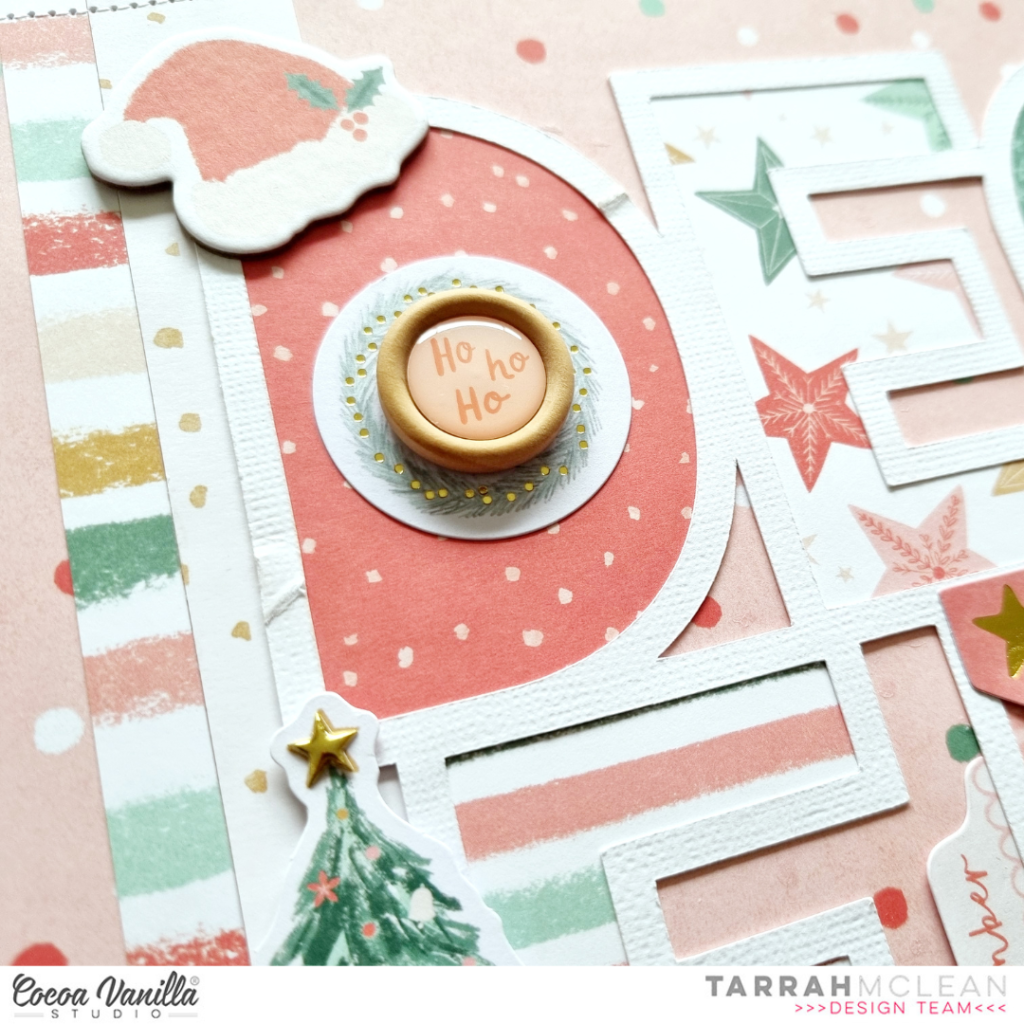
In the centre of the 'D' in the December cut file, I took one of the circle stickers from the Accessory Sticker sheet and added one of the gorgeous wood epoxy buttons to the centre of the circle. Once all the bigger elements were added to my page and I was happy with all of the placement, I took a look at my layout to see if I was happy with it and if I thought it was finished. I can very easily overdo it sometimes and never know when to stop but I added just a few smaller embellishments like more gold chipboard stars and some Accessory stickers to finish. I also stamped the date stamp which is what I do on all of my layouts, its one of my signatures that I always like to do!
Thank you so much for stopping by my blog today! I hope I have inspired you to pull out your Cocoa Vanilla Christmas collections and start creating some of your past Christmas memories!
Happy creating!
Tarrah x
No comments:
Post a Comment