Hi everyone!!
I am here today to share a technique with you that many people find difficult to do and that is how to layer.....I will show you how to layer both papers and embellishments :)
Here we go!
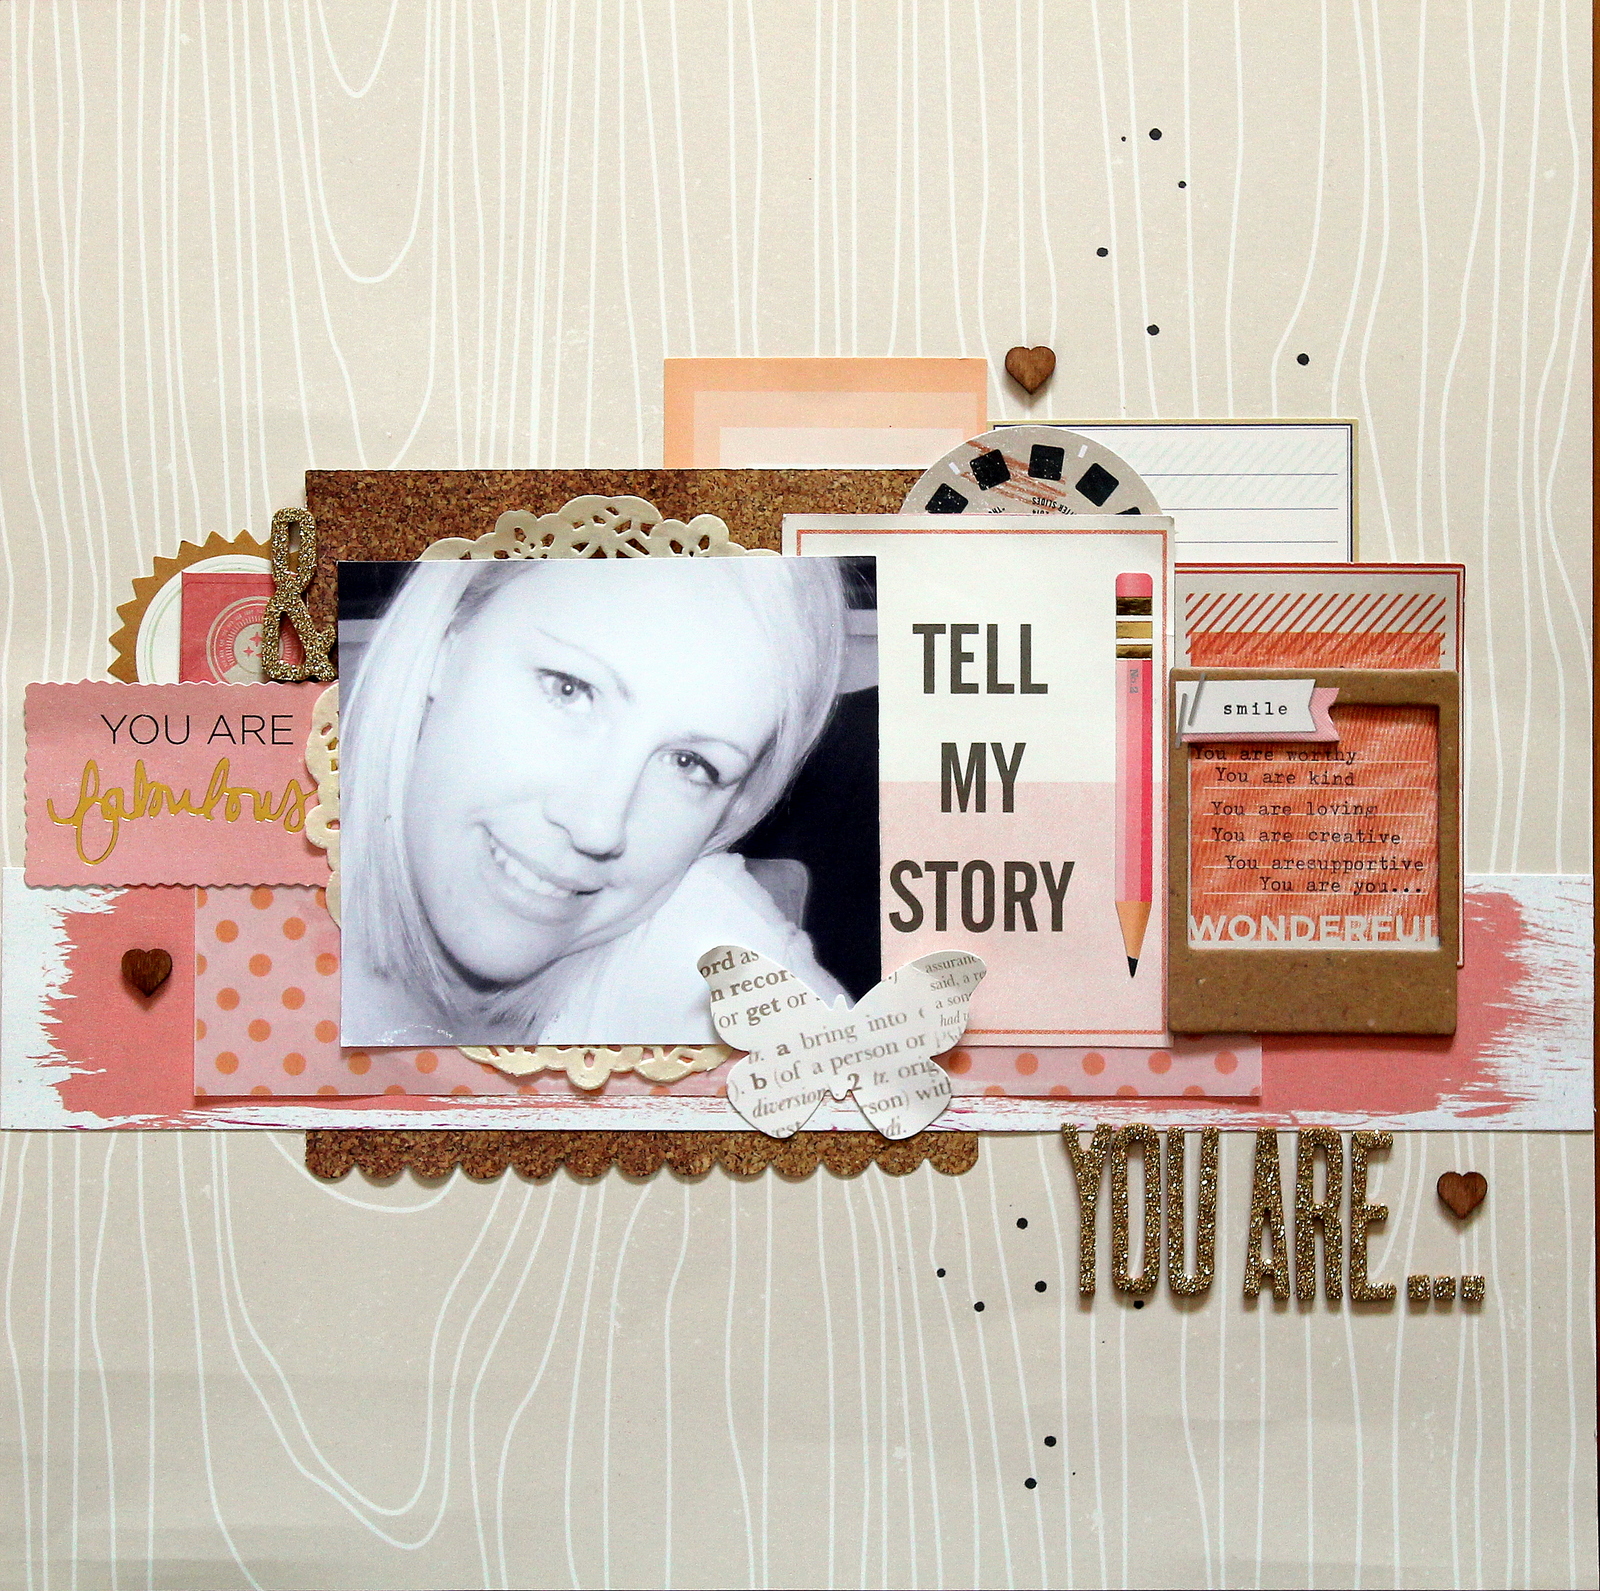
First I chose my photo and then I gather papers, embellishments etc that inspire straight away...in this layout, I have used the gorgeous Scrappy Canary September 'Penny Lane' Scrapbook Kit plus that paint stripe piece of paper from the August 'Bohemian' Scrapbook Kit too.
Step 1. Choose a background paper and trim other papers to all different lengths for your layers....I find it best to layer with all different shapes and lengths
Step 2. I hardly ever have a design style in mind...so I just shuffle and rearrange as I go...I would change it up heaps of times before I actually adhere anything down..
Step 3. Different paper edges are great for dimension and texture so don't be afraid to get your border punches out!
Step 4. Ephemera packs are a godsend when it comes to layering...especially if they co-ordinate with your papers...you can see how my layout is now starting to take shape above in the bottom right photo with the use of vellum, a paper doily, 2 different size and orientations of ephemera and my different size and shapes of patterned paper....
Step 5. Add your photo...I still haven't adhered anything down at this stage as I like to add and tuck other things behind for balance and detail...
Step 6. I also really like to look at embellishments in different ways...I often cut things up or place other elements over things to co-ordinate.......I wanted to use this sticker from the Crate Paper Notes and Things sticker sheet but as you can see the ribbon parts would not go with the colours in my layout so I cut them off to possibly use another time.....
Step 7. I am lucky enough to have an old typewriter and I just love to grab a journal card and type up my journalling straight onto a card....super quick and easy...plus I don't really like my handwriting either!
Step 8. Adding some mist and the journaling and title are usually the last things I do to complete a layout...I have added some more ephemera and stickers behind my papers (again using different sizes, shapes and orientations) I also added those super cute wood veneer hearts to draw the eye in a triangle around my layout...
One of my favourite brands to work with is Crate Paper....I just love those chipboard frames...perfect for framing something you want to highlight on your project...
Instead of placing the large butterfly sticker flat, I curled its wings up with my fingers for more dimension...
When layering I like to try and keep everything compact so there is not too much spreading out and everything getting lost on my layout..
I hope this little tutorial has helped some of you that might find it difficult to layer and to use up your stash!
Thank you so much for stopping by my blog today.....happy layering!
Tarrah x


2 comments:
I saw this over at Scrappy Canary & thought it was fabulous....really enjoyable, interesting and informative how you build your layers...TFS:):)
Looks fantastic and a girl can never have too many layers ;)
Post a Comment